Need help?

How to Build a Cubby House
How to Build a Cubby House, From Choosing the Right One to Setting it up
Cubby houses are one of those rare kid purchases that actually gets used, because they become whatever your child decides they are. A shop today, a pirate hideout tomorrow, and a suspicious “no adults allowed” headquarters by the weekend.
This guide covers two parts, choosing the right cubby house for your space and kids, then practical flat pack setup tips. If you want to browse first and read later, you can see the full range here: Browse all cubby houses.
Table of contents
- Choosing the right cubby house
- Size
- Type, wood vs plastic vs indoor
- Height, cottage vs elevated
- Themes and what your child actually likes
- Building a flat pack, practical tips
- Final thoughts
Choosing the right cubby house
Before you pick a model, decide what “right” looks like for your backyard and your kids. The best cubby is the one that fits your space, suits how your kids play, and does not become a weekend project you regret.
Size
Cubby houses do not need a huge footprint, but you still want enough room for kids to play around it, not just inside it. Start by measuring the area where the cubby will go and allow extra space for moving around, opening doors, and general kid chaos.
Also think about your child’s age and height. If you have a rapidly growing kid (or a second one coming up behind them), choosing something with a bit more room can save you replacing it too soon.
If you have a large yard, you can look at bigger cubbies and models with add-ons like slides. Smaller yards and patio homes can still work well, you just need to be more strategic about placement. Some cubby houses are as small as around 1.7m x 1.8m, while larger styles can be around 2.4m x 2.4m.
For compact spaces, corner placement often works best so you keep the middle of the yard open. That way the cubby becomes a feature, not an obstacle.
Type, wood vs plastic vs indoor
Most cubby houses come in timber, plastic, or a mix. The right choice usually comes down to the look you want, how much maintenance you are comfortable with, and whether you need to move it around later.
Wooden cubby houses
Timber cubbies are a classic because they look great in a backyard and usually have a more “real house” feel. They are also a good match for larger designs, and for models that include heavier features like slides.
The trade-off is upkeep. Timber can splinter over time, especially if it is not sealed and maintained. A quick routine check for rough spots, splitting, or weather wear goes a long way.

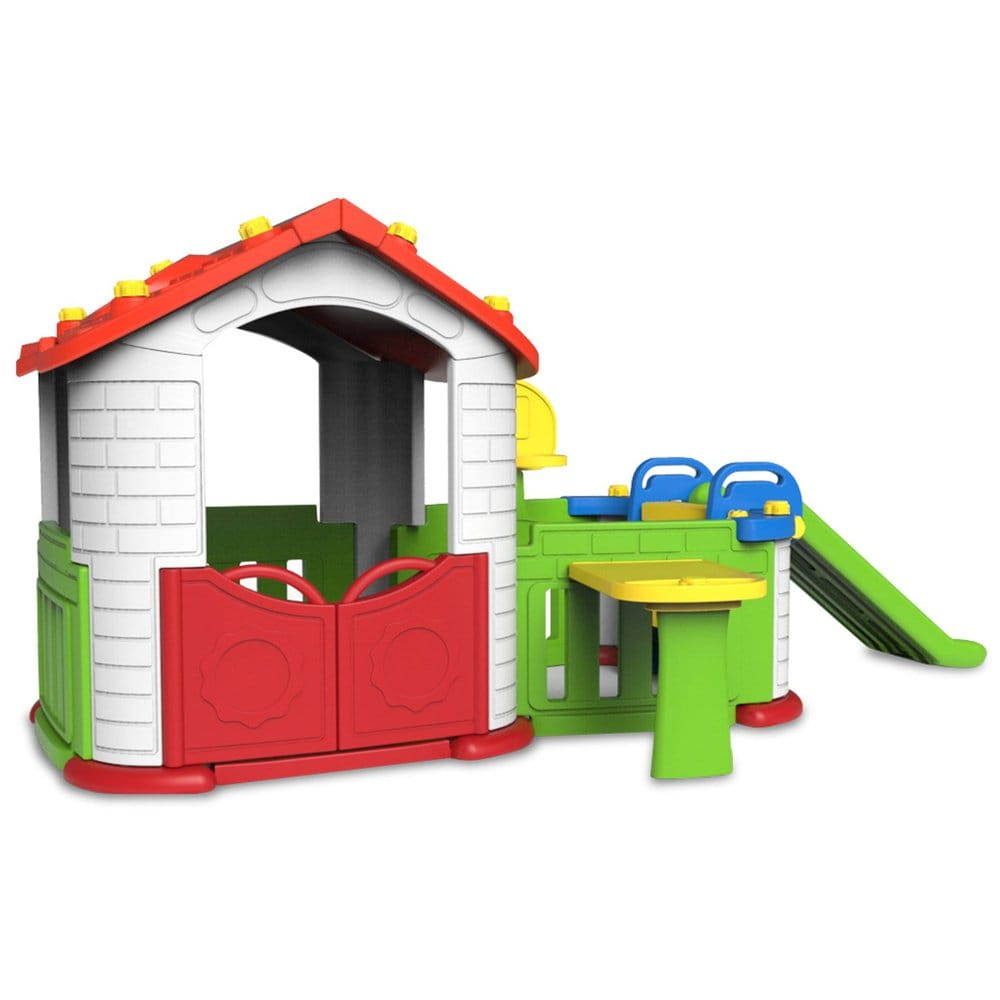
Plastic cubby houses
High quality plastic cubbies can be surprisingly nice looking, and they are usually simpler to maintain. They do not splinter like timber, and they are often easier to move if you need to shift the cubby to a new spot.
The main downside is that plastic can be less resilient than timber and may warp in extreme heat. Like anything outdoors, a bit of care (regular cleaning and keeping it in a sensible spot) helps it last longer.
Indoor cubbies
Indoor cubbies can still be brilliant for imagination, especially for apartments or smaller outdoor areas. These often look like play tents or indoor play setups and work best in a playroom or a larger bedroom.
- No weather concerns
- Easier to keep an eye on play
- Great for homes with limited outdoor space
The main limitation is add-ons, but most kids do not care, they are busy turning it into a spaceship anyway.
Height, cottage vs elevated
Height matters for safety, usability, and what features you can realistically add. The two common styles are ground level cottage cubbies and elevated cubbies.
Cottage cubby houses (ground level)
Cottage styles sit on the ground and are usually easier for younger kids to access. They also tend to suit families who want a simple cubby without slides or climbing elements.
The main practical requirement is the ground. You want a reasonably flat area without big bumps, holes, or exposed roots.
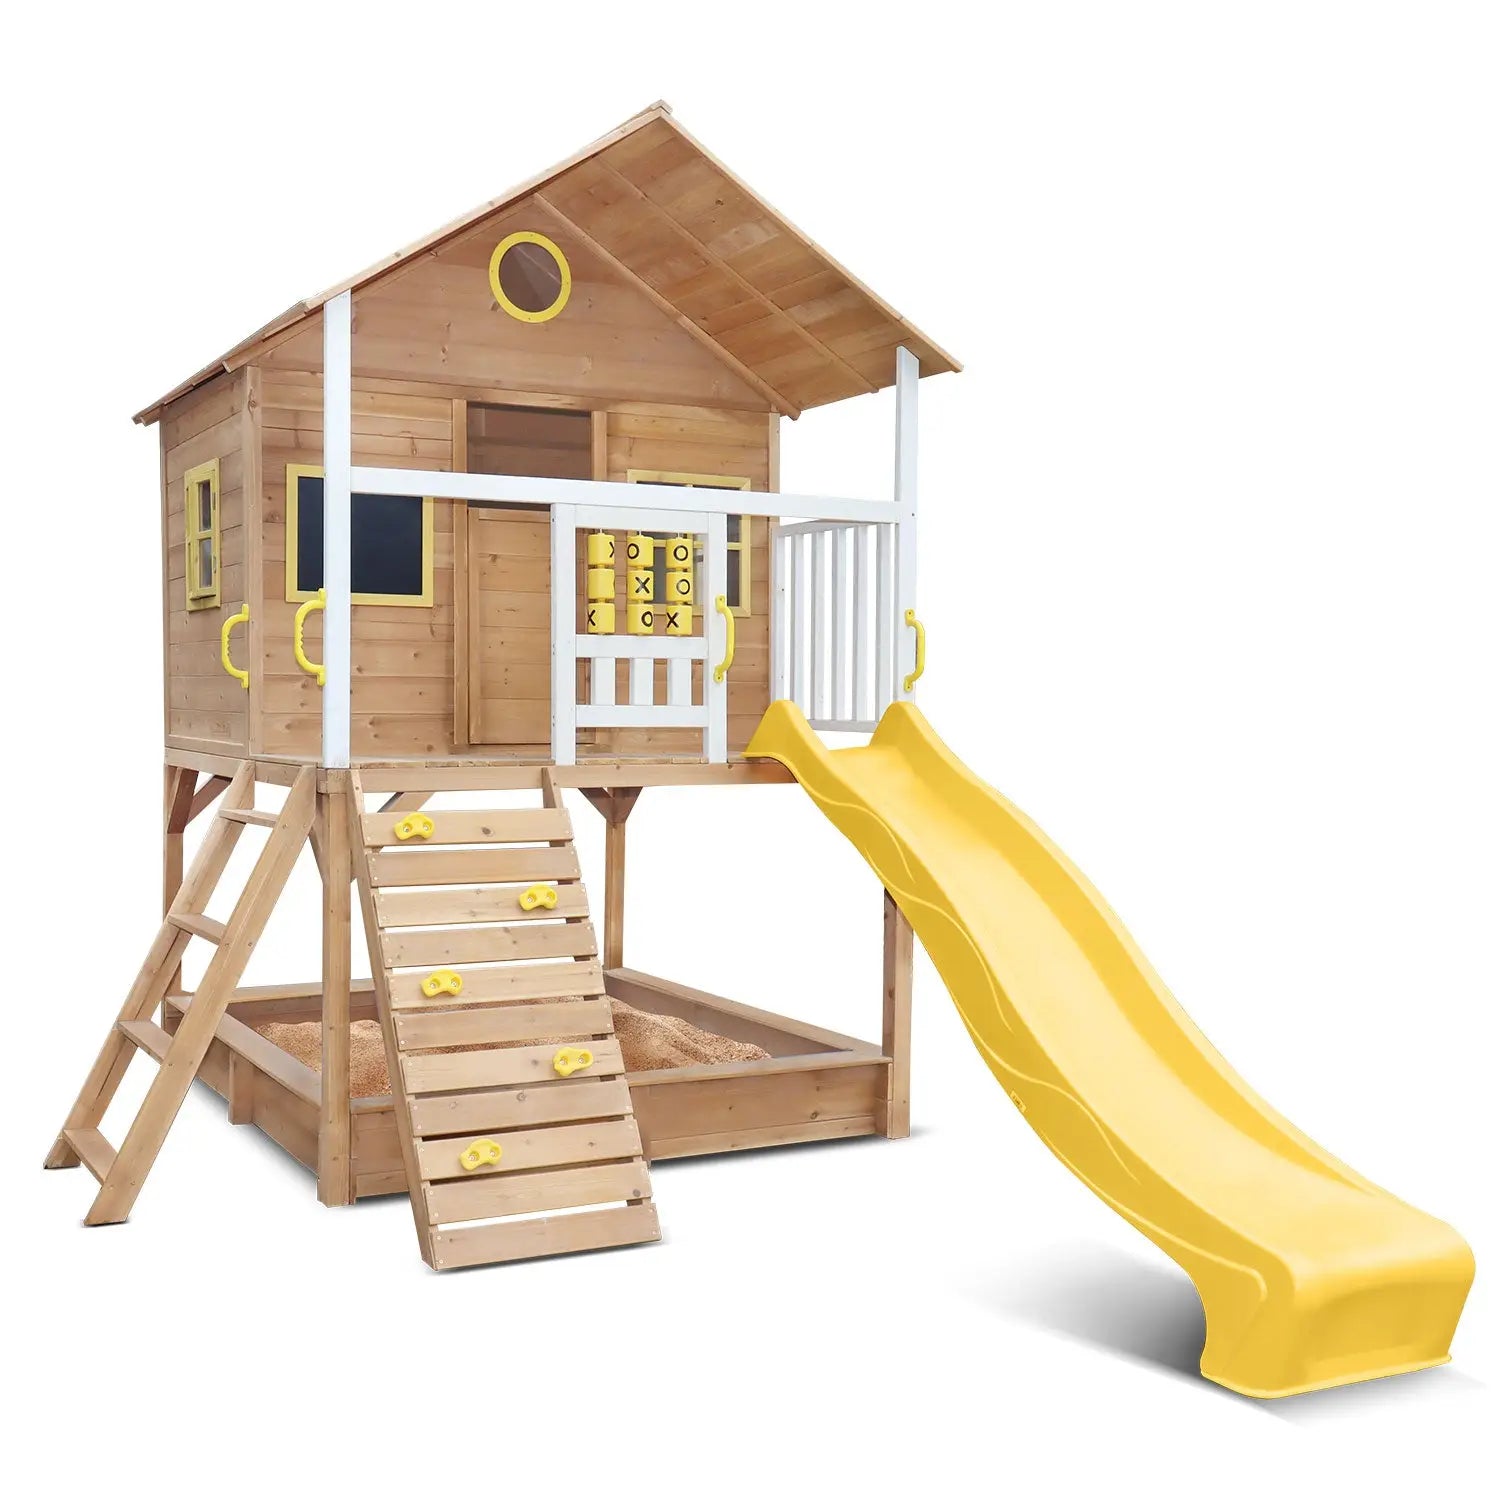
Elevated cubby houses
Elevated cubbies suit older or more active kids and give you more options for features like slides and climbing. They also handle wet weather better because the cubby is raised off the ground.
The trade-off is access. Elevated cubbies use ladders or steps, so they are not always ideal for younger kids unless the design includes safe access. As with any raised play equipment, placement and supervision matter.
Themes and what your child actually likes
Kids change interests constantly, but most have a couple of favourites that stick around. Choosing a cubby that matches how they play usually works better than picking something super themed that they outgrow quickly.
If your child loves climbing and movement, look for a setup with active elements. If they love role play (shops, kitchens, cafes), a cottage style cubby can be perfect.
Theme ideas that tend to last
- Cafe or restaurant
- Sandpit zone
- Reading nook
- Picnic setup
- Simple accessories you can swap over time
Keep it flexible. It is much easier to refresh a cubby with small changes than to be locked into one theme forever.
Building a flat pack, practical tips
Most cubby houses arrive as a flat pack with pre-cut parts and a step by step manual. If you have survived an IKEA build, you can handle a cubby house too. It is not always fun, but it is very doable with the right setup.
Before you start
- Build it in the final spot. Move the boxes to where the cubby will live before you start, so you are not shifting a half-built structure later.
- Check the ground. Aim for flat, stable ground. Fix any obvious dips or bumps before assembly.
- Get the tools ready. A drill, screwdriver, and a hammer usually cover most builds. Check the manual first.
- Read the instructions once. A five minute read-through saves a lot of backtracking.
- Do not do it solo. An extra set of hands makes wall panels and roof sections much easier.
Build order that usually makes life easier
- Lay out and identify parts so you are not hunting mid-build.
- Start with the base or frame so everything stays square.
- Build walls, then roof, then doors and windows.
- Add extras last (slides, accessories, add-ons), once the main structure is solid.
Quick reality check
Plastic cubbies are usually quicker to assemble than timber. Elevated cubbies often take longer because you are building the platform and access first. If you are planning an elevated cubby, give yourself more time than you think you need.
Final thoughts
The “right” cubby house is the one that fits your space and matches how your kids actually play. Once that part is sorted, flat pack assembly is mostly about taking your time, following the manual, and not trying to do it alone.
Ready to choose a cubby and get started? Browse all cubby houses.